Metal detecting holidays in England with the World's most successful metal detecting club.20 years plus.
Twinned with Midwest Historical Research Society USA.
|
Cleaning finds Added Ancient silver coin cleaning tips + the kit used Free Roman cleaning book download
|
|
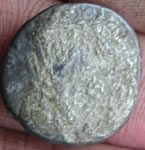
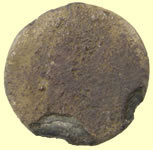
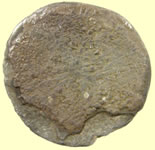
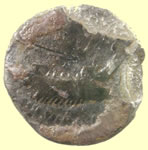
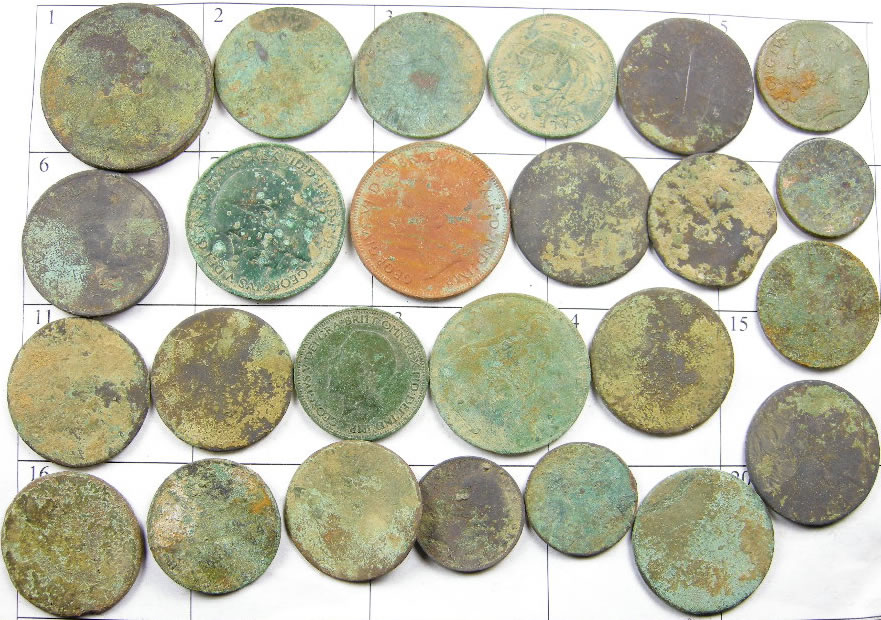
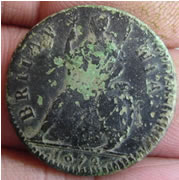
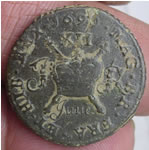
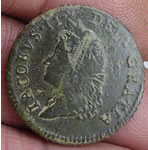
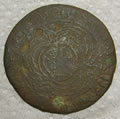
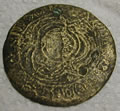
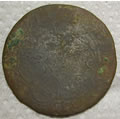
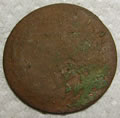
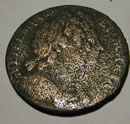
Evenings while the hunts are on are generally spent cleaning up finds and I have learnt a lot of different cleaning methods, some good, some not so good from the guys that have hunted here, some I now employ now all the time. Especially good is being able to clean the large numbers of grotty coppers we all find so that we can date a new field being hunted. Below is a typical set of coppers in grotty condition. Guys find an average of 50 + a week each.
Some of the methods of cleaning the finds as described here will be frowned upon as ruining the patina and value of objects. As the value of the find is pretty unimportant to most of us but it's enjoyment and presentation is paramount then it is up to the individual to decide how best he wishes his finds to look. Obviously with important or rarer finds they are left for the museum to see before any cleaning is done. If we find a rare copper in good condition and a good patina then it is just dry brushed
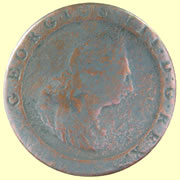
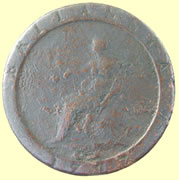
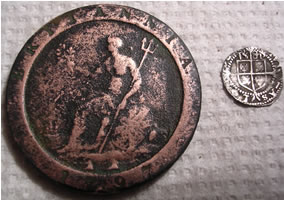
1797 George III cartwheel penny - cleaned using the 'Loc Plus' polishing method
I have added the 'must have' kit I use below. I am currently using a professional dremel set now for polishing, it has infinite adjustable speeds. I am using a clever multi frequency ultra sonic cleaner with a special cleaning fluid additive. I alsp use a very high power microscope with special micro tools bought from the USA.
Equipment I use on the finds for cleaning and photographing
Panasonic Lumix DMC-FZ330EBK Bridge Camera with 25 - 600 mm Zoom and Full Range F2.8 - Black
|


General cleaning - just water and a soft toothbrush. With Roman coins just use a dry brush. |
|||
|
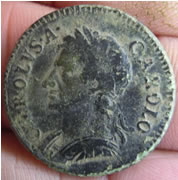
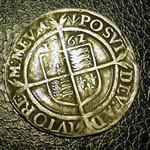
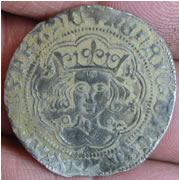
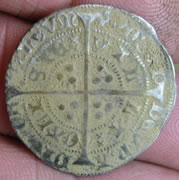
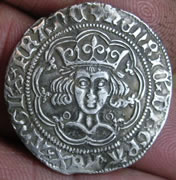
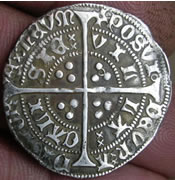
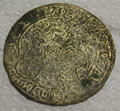
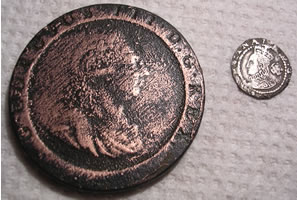
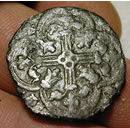
Hammered silver - NJ Ed showed me a great method for cleaning silver especially when it comes out of the ground either black or brown. Silver kitchen foil paper and water. This method highlights all the detail and leaves the background dark. Also works really well on black tarnished milled silver. All silver on the site is cleaned using this method now as it does not hurt the coins in any way. The Elizabeth coin found by Boston Bud was completely black when found and the foil and water has highlighted the raised areas and left the black behind. As you can see the coin below it is a beautiful example of an Elizabeth 1st 1567 sixpence. You want to be slow and frugal with the mount of 'foiling' you do as the ideal condition is to leave the silver coin highlighted and the black behind. Wet the coin and make a U shaped piece of foil, rub the coin between the two faces of the foil. Wipe the coin with a piece of kitchen towel and repeat method to the coin is in the condition you want.
|

|
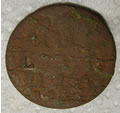
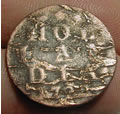
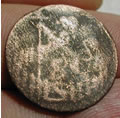
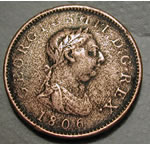
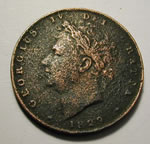
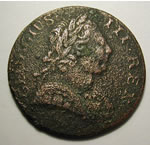
Grotty coppers and tokens - Normally discarded as too rough to ID. Arkansas Gary brings me a polish called Loc PLUS. It is made in the USA ( not available over here) and comes in a big tube, it works like magic on cruddy green coppers and tokens as it is like a fine white grinding paste to highlight the detail. It is not available in some states as guys have had real difficulty finding it. There are other metal polishes available in the UK that will do a similar job. Use this polish with the soft pad on a Dremel to highlight the detail on the coin. Texas John has sent me more information on the elusive Arkansas Gary's metal polish for copper coins. I have shown a before and after photo of how this can be really useful for cleaning usually discarded copper grots. I found a web site for the metal cleaner
Loc PLUS . The reason people can't find it in the stores is because
it is not sold in stores. It is an Amway product and is sold by persons
with an Amway dealership, kind of John
|
||||||||||||||||||
|
Bronze objects and Jettons - One guy uses an electric toothbrush and black boot polish on bronze, small 17thC tokens and Jettons. I must admit I am not a great lover of this method but it certainly enhances the look of the object like hard to read Jettons. Boston Beau uses clear wax or Vaseline to bring out the hard to read detail.
|
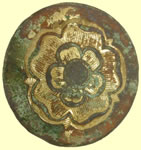
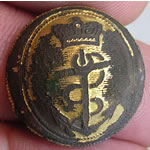
Gilded buttons - Canadian Rod showed me a method to improve gilded button finds by cleaning them with lemon juice - works great. Put the button in a cup with the juice and check it every 3 or 4 minutes. It also works well at taking off baked on crud on nom gilded buttons as well.
Make sure you keep an eye on the button as this method works really fast and if left will turn the button back to brass !!
|
||||||||||||
|
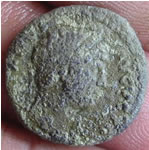
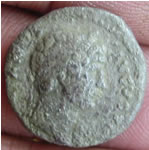
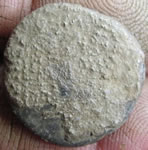
Cleaning early Roman, Celtic or Saxon silver that has a thick hard crust 'horn' silver on it. I use a mix 2 parts olive oil and one part lemon juice to 'cook' the coins. Put the Roman silver coin in a cup with the 'mix' and then onto the hotplate of a coffee maker. Watch the brown crud float away from the coin. Check it every hour and after the 'mix' is clogged with crud replace with a fresh mix. This process can take several days but eventually the coin will become totally clean of the crust. Use a wooden tooth pick to pick any loose crud from the coin in between changes of the mix. Below are the before and after shots of some recent ones I 'cooked'
Here is info from LLuis a Spanish Chemist and other tips sent to Mark lehman our Roman expert.
Here (below) are a couple
of recipes from a friend of mine who's really quite the competent, multi-platform,
technological wizard. Since this is an old, real silver coin, he could try 1 teaspoon of lemon juice in 4 ounces of olive oil, mix them well, add the coin, and place on a hot plate [I use the carafe-warmer from an old coffee maker] it takes about 30 minutes and most of the time a single treatment will remove the crust from a silver coin. The oil floats the crud away as the lemon acid breaks it down. I have used this method, it works fine on silver, but as you know, acids and bronze don't play nice! Jerry had things backwards and turned inside out. If you have two different metals and an electrolyte, either acid or base, you will get a galvanic reaction [ a battery], and one coin will be eaten. which way the reaction goes depends on the electrolyte and the metals involved. If you really want to know, I can look it up for you. If it is Horn Silver,
it is like BD and is progressive and not reversible, but it can be stopped. Silver Nitrate is used
to test for Chlorides, the Bruce
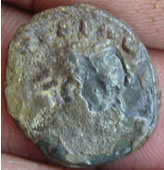
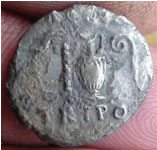
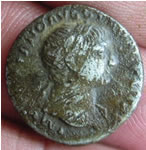
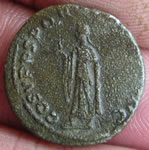
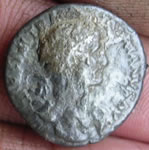
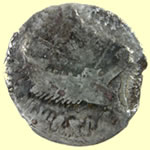
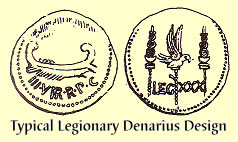
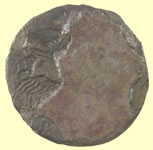
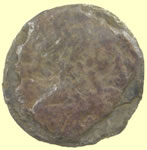
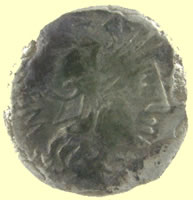
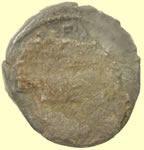
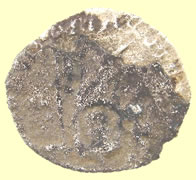
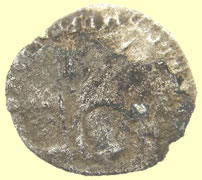
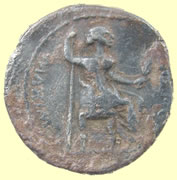
Roman silver coin Before and after pictures - still 'cooking' it 32 BC Mark Antony, Legionary silver Denarius. ANT.AVG.III.VIR.R.P.C Galley, Legionary Eagle between two standards
As dug to cooked' It's clear enough now for a positive ID - it is definitely a Roman Republican Denarius - moneyer: M Aburius M.f. Geminus, 132 B.C.
RSC-Bab Aburia 6, SR 127, Syd-CRR 487.
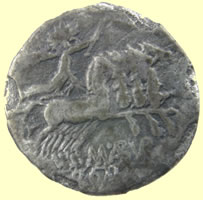
You should, eventually, find the letters: "GEM", behind Roma's helmeted head on the obverse, and there should be an asterisk-looking mark under her chin which is actually a monogram of XVI - ie: 16 Asses to the denarius. On the reverse, you have radiate Sol driving a fast quadriga right and brandishing a whip, below the horses, you have M ABVRI with the AB and VR in ligate form, ROMA in the exergue.
Very interesting, as this piece dates to a century and three-quarters before Claudius' conquest of Britian. I'm going to guess that it originally came to the island in trade for tin, or was carried as a good-luck piece by a superstitious soldier all those years later. These certainly weren't normal, circulating pieces anywhere else in the Empire in the late 1st through early 3nd century era we associate with a significant Roman presence in Britain and circulating silver. These were "overweight" by the standards of the denarii at that time and after Nero's debasement, the silver was too pure also - these would have been pulled out of circulation wherever anyone knew that their silver value was well above their nominal denomination - the sort of information that any savvy merchant would have been aware of.
Mark
|
||||||||||||
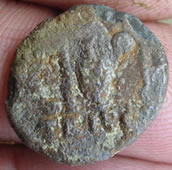
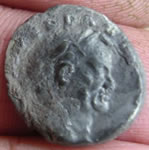
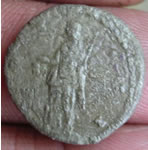
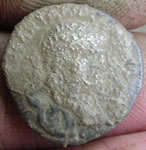
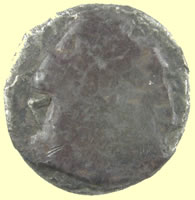
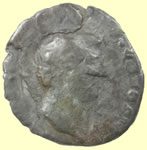
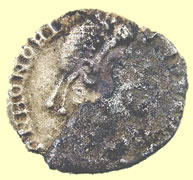
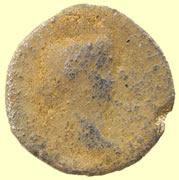
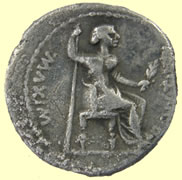
This early Roman silver is proving to be fascinating as it 'cooks'. It is badly debased silver and laminating badly, almost like different layers of silver hammered together. I have sent it off to our Roman expert and here is his views. 'From the shape of the head (only, as that's all there is to go on at this point) this appears to be a denarius of Antoninus Pius - 138-161 A.D.
I can't tell you why it's laminating so badly - some coins do and some don't - it doesn't have the look of a contemporary copy or forgery at any rate, so far as can be ascertained in its encrusted state.'
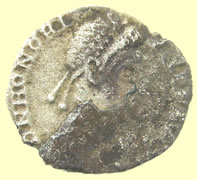
Slowly revealing the detail
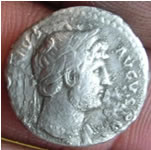
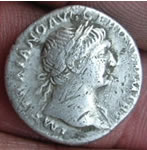
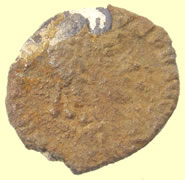
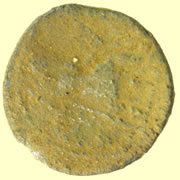
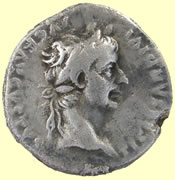
Yes, you are becoming quite expert in getting encrusted early silver looking presentable again. This is Tiberius and the coin is the so-called "tribute penny" denarius which is often associated with the passage in Matthew about "rendering unto Caesar.." etc. This has been a very successful marketing ploy and results in this type generally bringing a price far above what it should, based on its scarcity (or lack thereof).
Tiberius was a rather reluctant "heir" to the Principiate to begin with and made a distant and barely-concerned emperor. After his first few years in office, he retired to his huge villa on the Island of Caprae and never set foot in Rome again. He cared so little that he never bothered to change the types of the coins to take advantage of their great propaganda value in a time and place in which they were nearly the sole mass media. So, from 14-37 AD - a rather long rule - he continued to produce the same few types - and only this one type of denarius.
Mark
|
||||||||||||
|
It anyone has
any other really good cleaning tips please send them too me and I will
try them out and if successful will add them to this list. |
||||||||||||